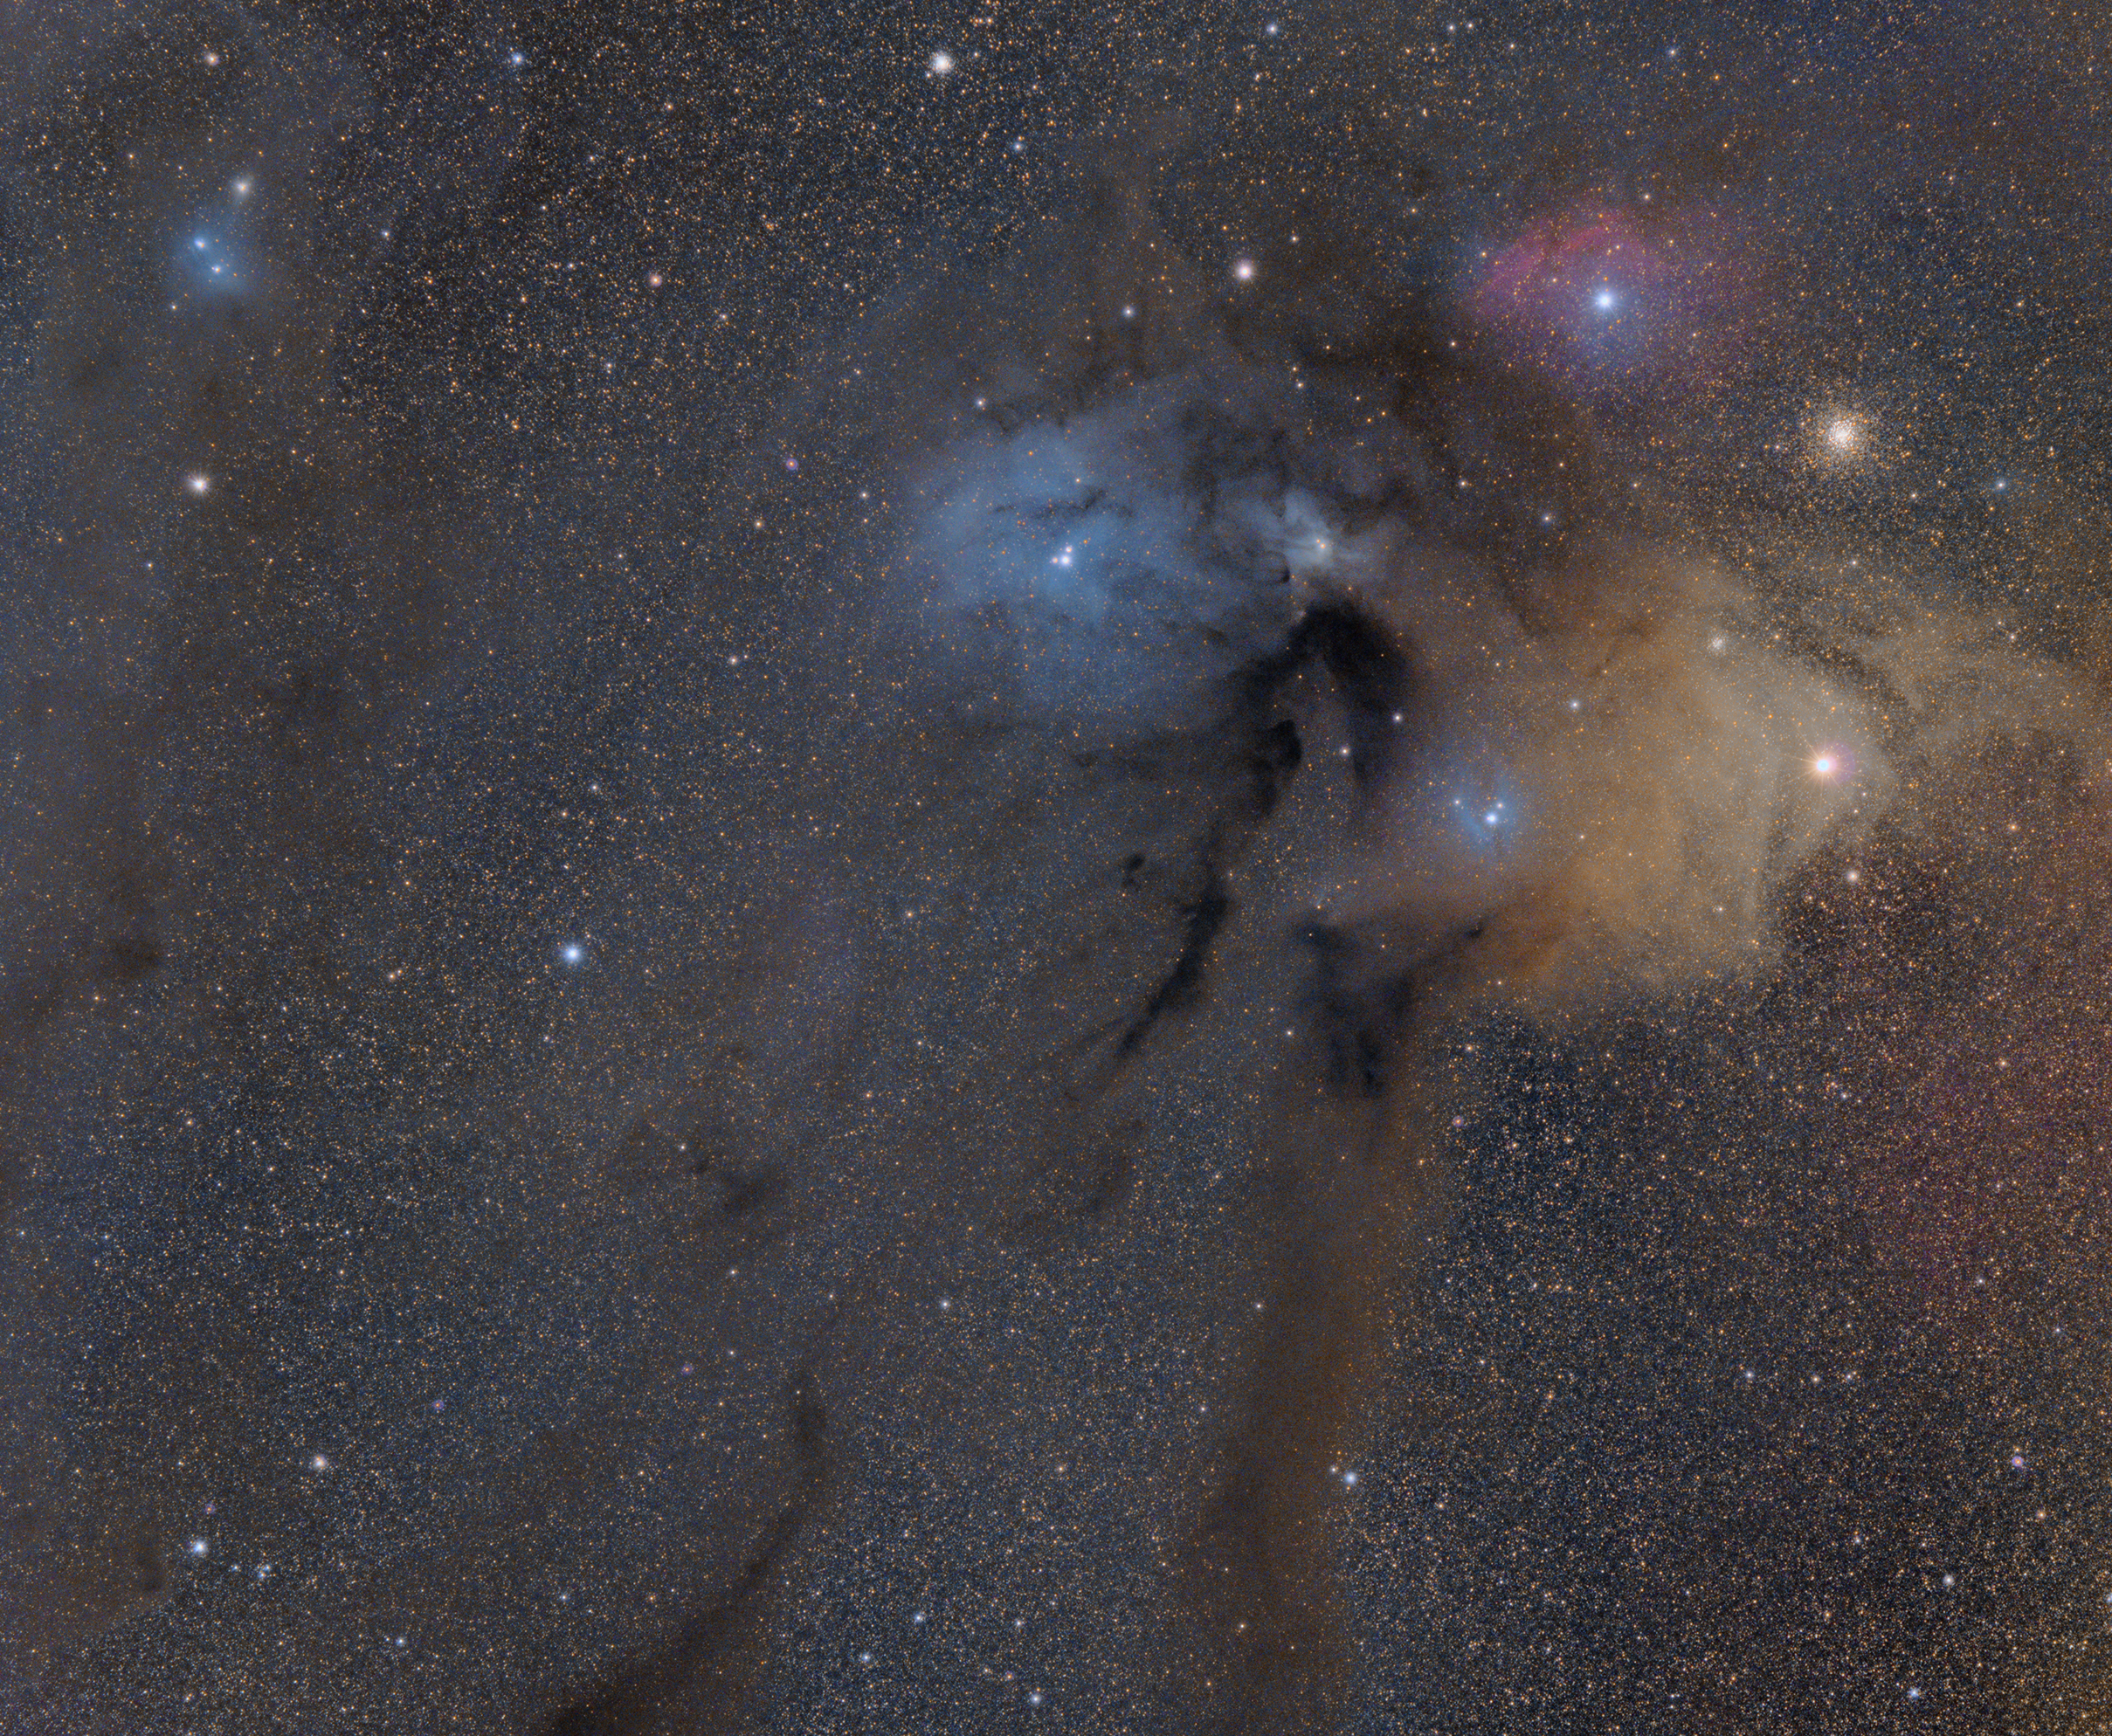
The main reason for purchasing the Rokinon 135mm was a quest to shoot Rho Ophiuchi, an object I wanted to shoot for a long time. It stands out for its multiple bright colours, vivid dust lanes and even has a star cluster. After learning about it some time ago, I realized it was too big to fit into the field of view of my ED80. But at 135mm, it fit perfectly into D5300’s crop sensor. When the lens arrived, I quickly realized that due to its weight, there was no chance of attaching it to the guide scope without some support. A clear night was quickly approaching, and I didn’t have the time to order proper mounting rings for it. So I put together a support for the lens made out of balsa wood and wound heavy-duty twist tie to keep it snugly in place. Finally, I set out to a Bortle 3 location to try my luck.

From Ontario, Rho Ophiuchi is very low in the sky and the window to shoot is short. I started imaging at midnight and by 1am, the star complex was getting too low and approaching light pollution at the horizon. I ended up taking 23 images. Fast forward a year later and I finally got around to processing this.
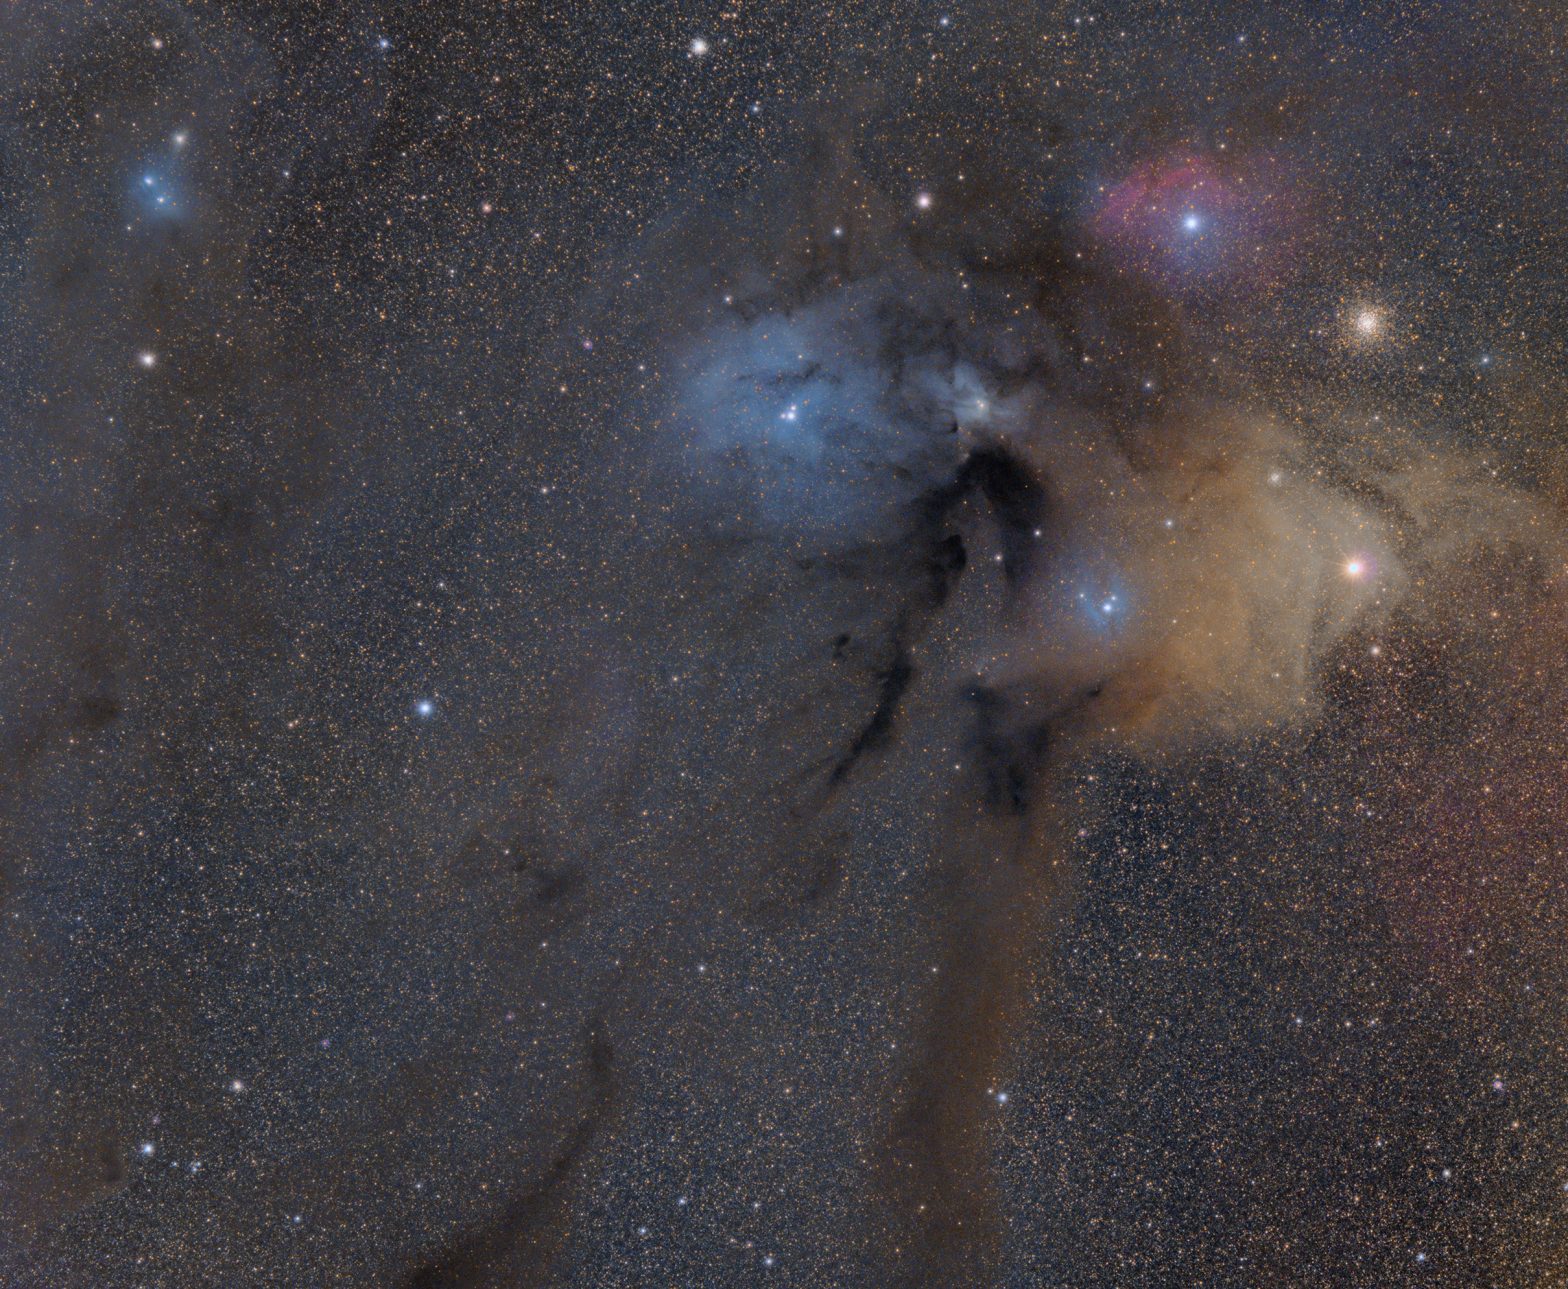
You begin any processing with a set of images from your session. Each image contains a bit of signal (the good part) and a bit of noise and light pollution.
Now its time to stack your frames to increase the SNR (signal to noise ratio). Because there is light pollution in the subs (individual images), you inherently also stack or add up the light pollution also. In result, your improved signal is hidden behind a thicker layer of light pollution that turns the photo to this:
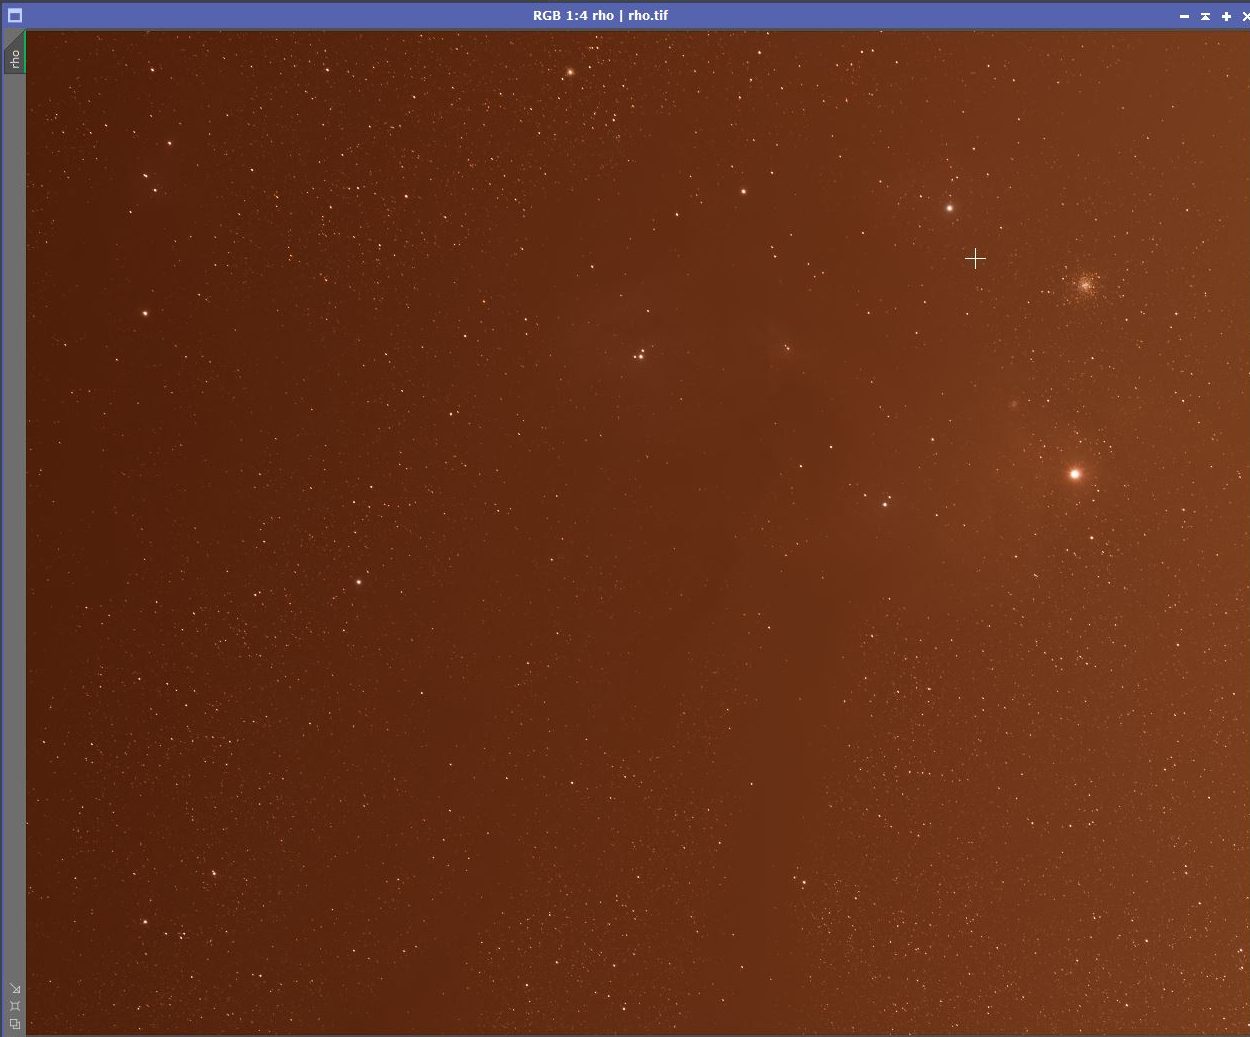
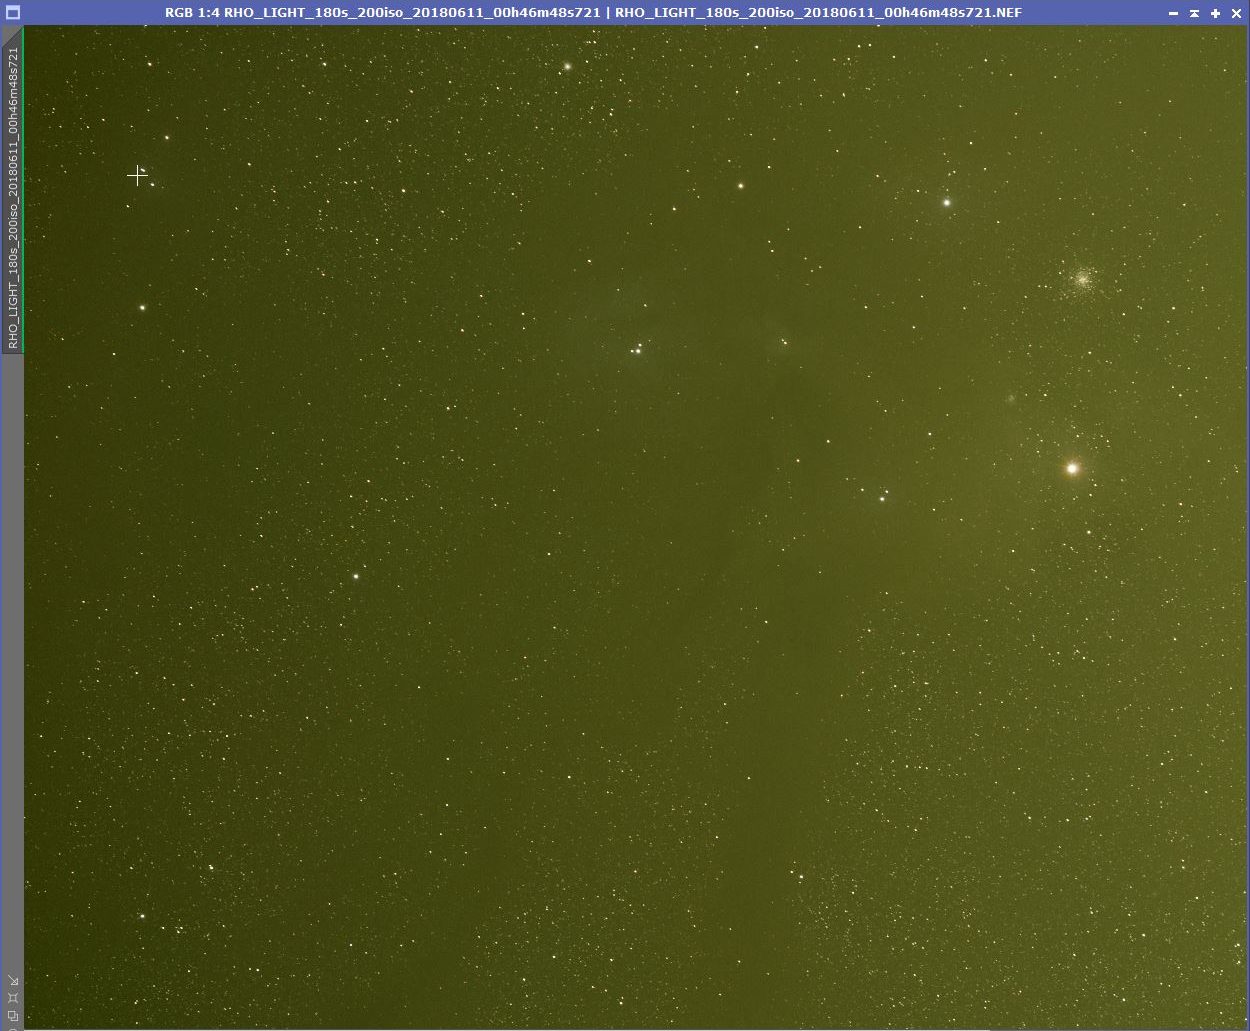
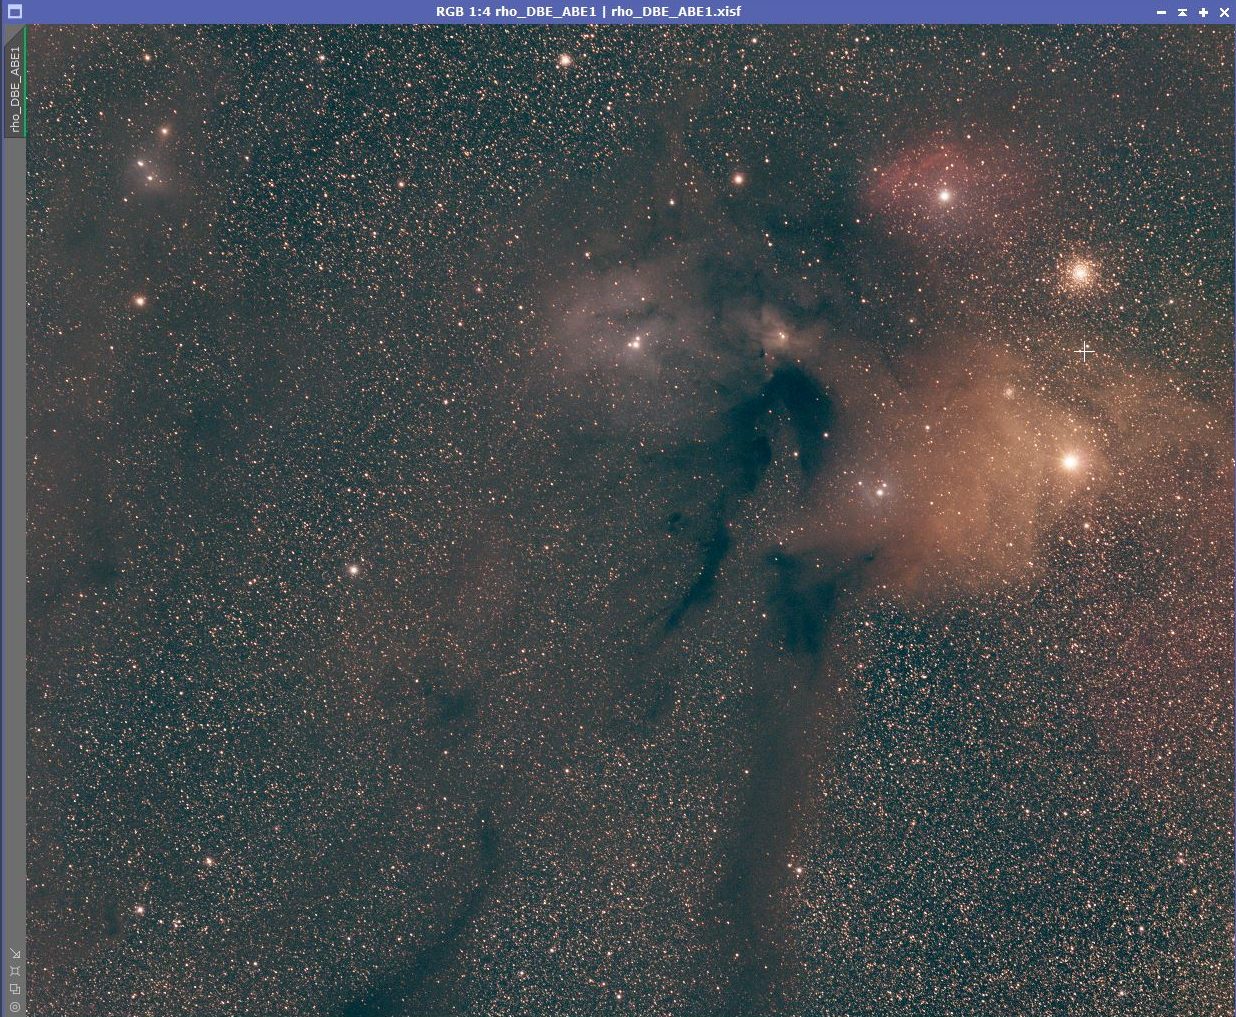
Your next task is to remove the light pollution. As light pollution is never evenly spread across the sky, it becomes a challenge to remove this unwanted gradient. Luckily Pixinsight has a great tool for this called DBE (DynamicBackgroundExtraction). After some tinkering with its settings, I subtract the pollution gradient from the image, and you finally begin to see the object, with its signal amplified by the stacking process.
At this stage, there is still a lot of work left, but seeing your deep space object gives you a drive to move forward. After some color balance and stretching the image to a non-linear state, you arrive closer to the finished product.

The final steps are to do some noise reduction on the grainy parts, increase sharpening, contrast, and saturation to bring out the color. All these steps require careful masks in order to not apply these affects to the whole image, but only the parts you want improved. Finally, a small star reduction to bring out the object more to the foreground, and we finally have a complete astrophotography image.
GEAR USED
Rokinon 135mm f2
D5300 Ha modded
AVX mount
ST80/QHY5L-II quiding
Sharpcap alignment
IMAGE ACQUISITION DETAILS
23 subs × 180s (dithered)
50 flats and 50 bias
TAKEN AT
IMAGE PROCESSING
Stacked in DSS, processing in Pixinsight
Dynamic crop
DBE
Background Neutralization
Color Calibration
Histogram Transformation
Local Histogram Equalization
Multiscale Linear Transform
Curves
SCNR Green
Dark structure enhance
Morphological transformation for star reduction
Last Updated on
I am jealous, great job. I have 2 hours of data for yesterday.
Same object, but just a portion. I have same camera, but full spectrum.
Same software… But still a battle for me processing.
I will do my best, thanks for make me believe again.
Excellent work, congratulations.
Hi Manuel! Thanks 🙂 I must say that imaging in Bortle 3 is borderline cheating 🙂