Building a Flat Frame Box

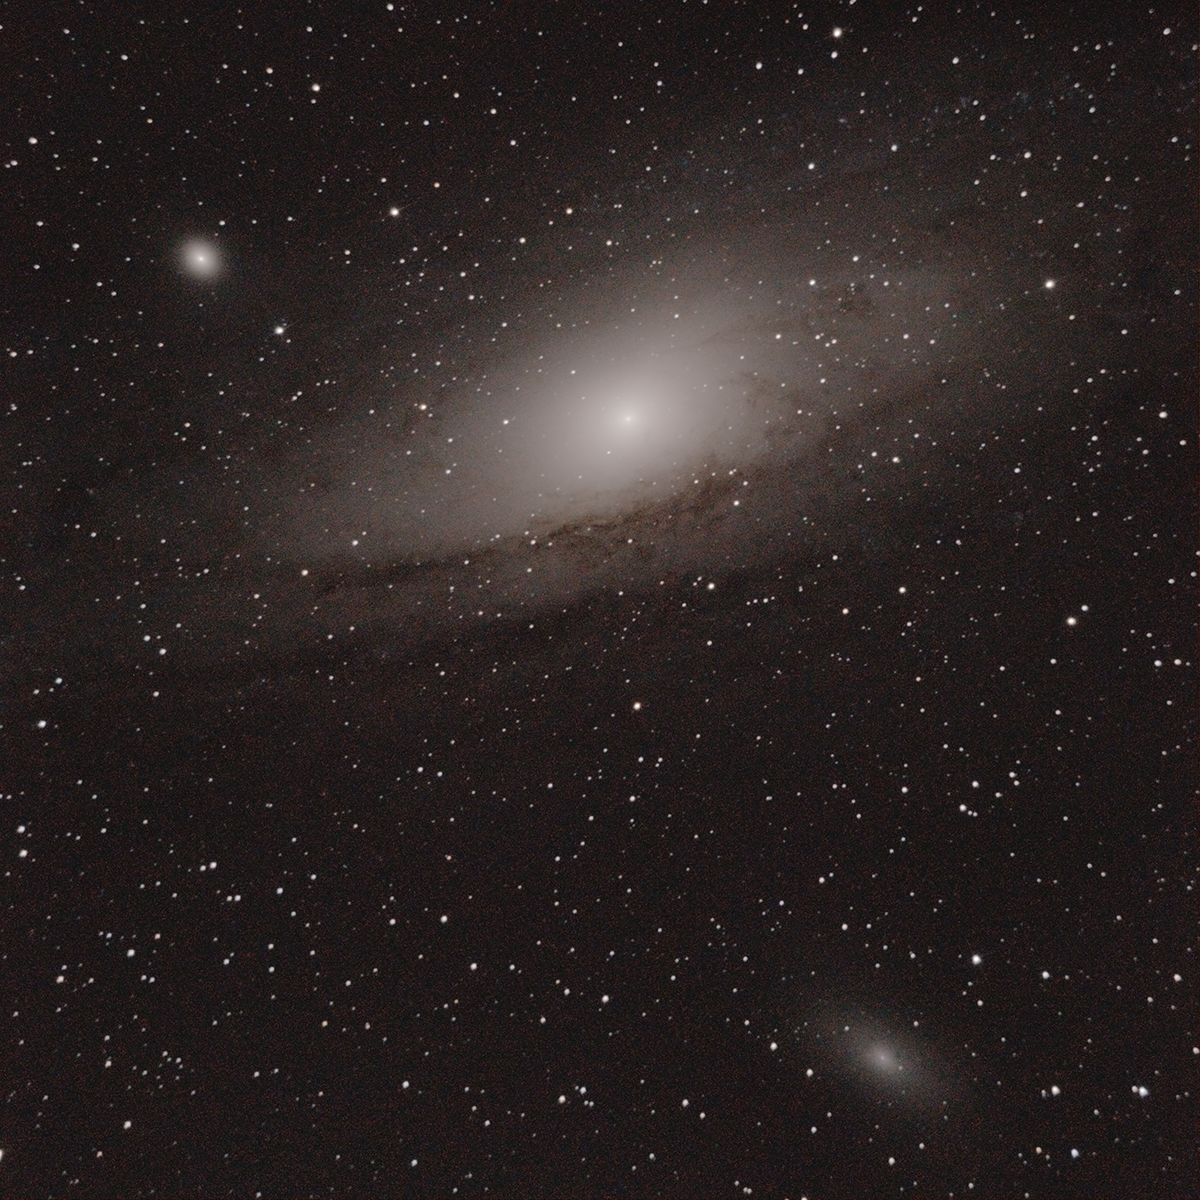
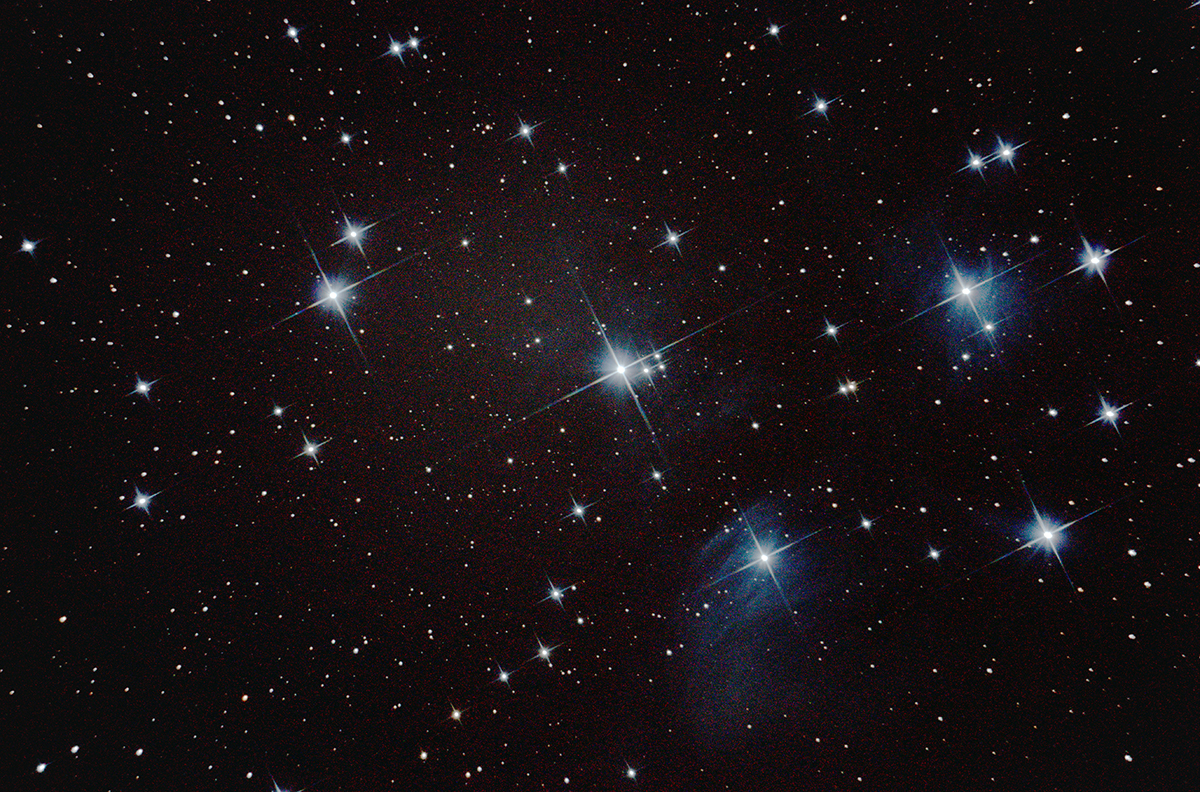
Stacking images to increase SNR (signal to noise ratio) is a fundamental task of astrophotography.

Aside from the light frames, which are the actual image data, there are also 4 types of calibration frames: Bias, Darks, Flats and Dark Flats.

In order to remove vignetting and any uneven field illumination caused by dust or smudges found in the optical path, we need to include flat frames in our stacking routine.

Flat frames are taken usually right after an imaging session, because it is important to ensure that the focus and camera orientation is exactly in the same place. Also its important to take the flat frame of something evenly lit, across the whole field of view of the camera sensor and at a specific exposure while maintaining the same ISO as the lights. That specific exposure is usually recommended to be a histogram peak slightly above the median ADU range of the camera.

The interior of the flat frame box

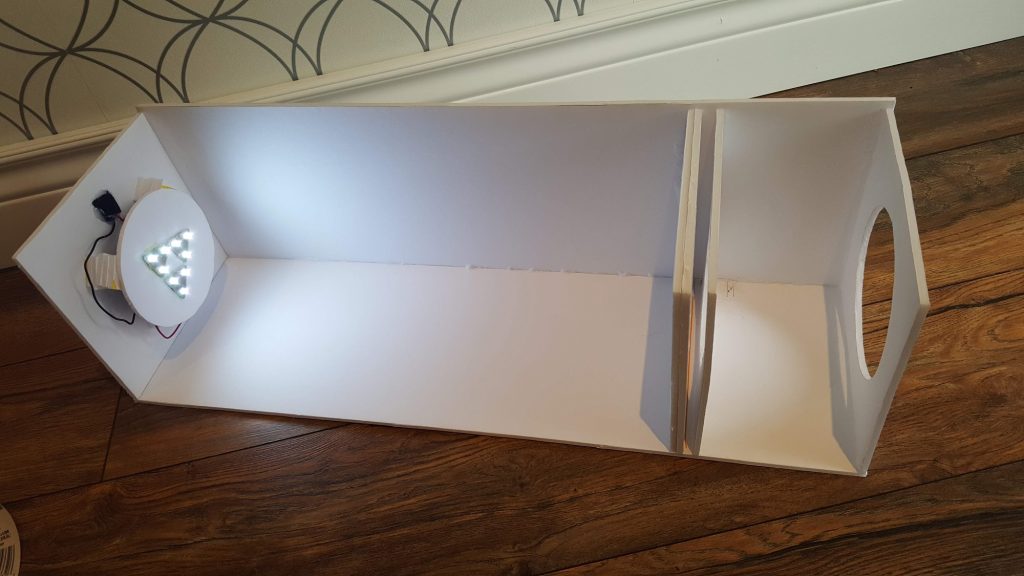
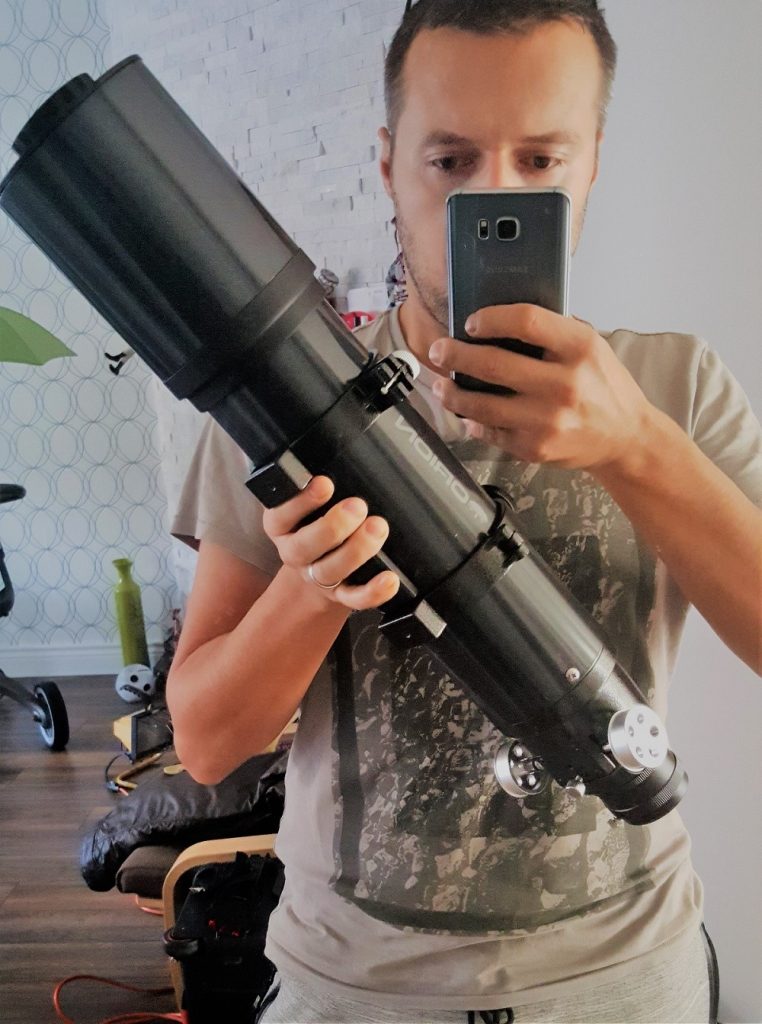
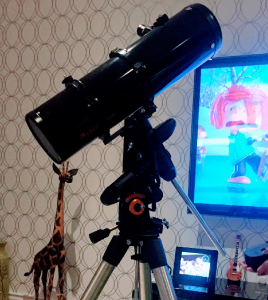
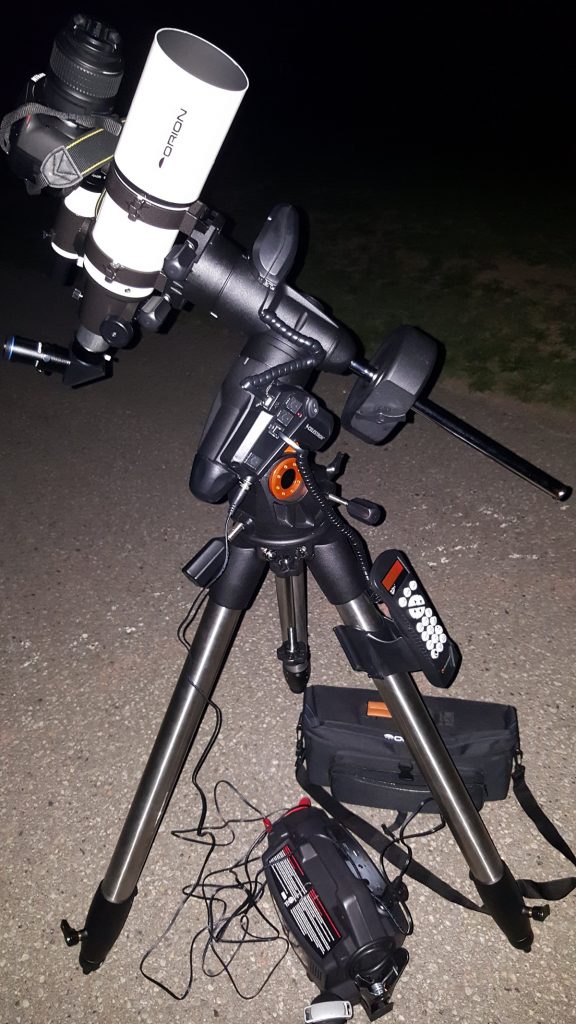
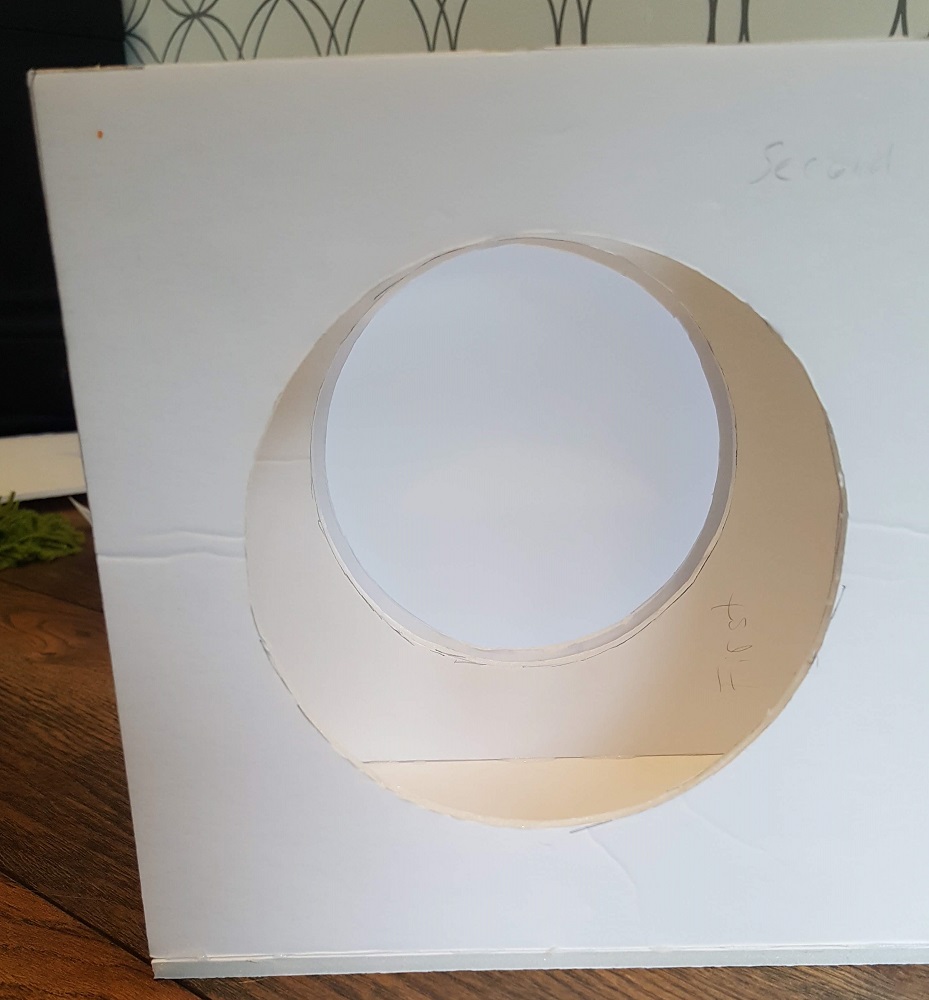
Now, to achieve this evenly lit field, a lot of people build flat boxes, that are essentially a semi-opaque film to diffuse a light source to evenly distribute it. These boxes are placed on top of the telescope, and are a very fast way to create flats. Other methods are more crude, such as placing t-shirts and shining a white color image from a laptop screen over it, or just shooting the morning sky. I personally felt that having a light box will make my life much easier, so I decided to build one. All it took was some cardboard, a light source, and some film. The only thing left was to build a box specifically made to fit over the tube of my Orion ED80.

Looking into the flat frame box, this is where the telescope front fits into

Last Updated on

Upgrading to an ED80 refractor

At this point, the main problem in my images that really annoys me is the chromatic aberration (the purple fringe around stars). Also the field curvature of the ST80 is really bad, especially on a crop size sensor, as you begin to move away from the center of the frame.

Used Orion ED80 purchased for $340 CAD

So to achieve a considerable jump in image quality, I need to upgrade my imaging scope to an apochromatic refractor. This type of telescope allows red, green and blue light to reach focus more evenly on the focal plane.

Refractors with the best cost to image quality ratio that achieve this are the ED “doublets”. One that is really cheap and high quality is the Orion ED80. It contains an extra-low dispersion element made from FPL-53, which is one of the best glass you can get in a telescope, aside from Fluorite.

Note: The reason I didn’t buy a “triplet” refractor, is because the gain of 5 – 10% in image quality isn’t justifiable, especially when the price of these scopes is in the thousands! I rather spend my money on other equipment I desperately need.

Last Updated on

Lesson learned the hard way

After driving 3 hours to a Bortle 2 site, I setup my gear and was planning on staying the whole night imaging targets. Since this was my first planned all-night imaging session, I never expected that my imaging would come to a halt an hour into my first object. As I was inspecting the subs, I noticed each one got dimmer and the details began to slowly disappear. It took me a minute to realize that dew had completely covered my objective. With no dew control knowledge, I was left with imaging stars with my basic 18-55mm lens. But at least on my way back, I knew exactly what I needed to do next in my quest for beautiful images.

My custom built 4-channel dew controller

After some research and soldering work, I made my own dew controller and strips. The dew controller had PWM dimmers that would in turn control the amount of heat delivered to the objective lenses, so that they could be a few degrees above the dew point. The strip from a nichrome wire was wrapped around the scope near the objective to warm it up by the current passing through it.

Last Updated on

Celestron 6″ Newtonian first light

Celestron AVX with C6N

After putting on my new C6N on the AVX mount, I set out to a Bortle 4 area around Wassaga Beach for some astrophotography, mainly to see the difference from the achromatic refractor I used previously.

This images were also shot with a 60 second exposure to limit tracking errors due to periodic error and a poor polar alignment.

The main difference in these images are the star diffraction spikes clearly visible on brighter stars. These are caused by the four spider vanes supporting the secondary mirror in the reflector telescope. Also, because this scope uses a mirror instead of lenses, there is no chromatic aberration. It is free of it because of light reflecting off the mirror, instead of refracting through the lenses.

M13 – Hercules cluster
M31 – Andromeda Galaxy
M45 – Pleiades

Last Updated on

Splitting double stars

Albireo double star
Albireo using a Celestron 6″ Newtonian

I haven’t done much visual since getting my gear, but one of the few things you can do in a light polluted city, is find some double stars. One of the most prominent ones is the Albireo system – a double star designated Beta Cygni. Taken with a Celestron 6″ Newtonian, it shows a beautiful bright yellow star with a fainter blue companion.

This binary star systems is one of the most popular, because you can split it even with binoculars!

Last Updated on

Bortle 2 trip to Nirvana

Decided to take a trip to one of the darkest places in southern Ontario. Nirvana AKA Irvine Lake Strip is a Bortle 2 area just north of Bon Echo Provinical Park. I setup my Orion ST80 on an AVX mount with a Nikon D3200 camera. All images were tracked for around 60 seconds each, some where stacked to produce a higher SNR while others were single subs. Notice how the achromatic ST80 produces prominent chromatic aberration, which is a purple fringe around bright stars.

M31 – Single Exposure
M27 – Single Exposure
M33 – Single Exposure
M45 -11 subs x 78s
Nirvana Irvine Lake Map
Imaging session @ Nirvana Irvine Lake

Last Updated on

A special moment

Captured my first deep space object (dso). This was a very memorable moment. I had the DSLR connected to my Orion ST80 as I was going through the alignment procedure. Obviously with the camera live-view display, it was not possible to see anything but bright stars. But after I calibrated the mount with 2 bright stars plus 4 calibration stars, I set the shutter to 60s and as the mount was tracking, I anxiously waited. When the tiny green nebula appeared on my preview screen and literally screamed out loud. It was truly amazing to blindly trust the mount to find a tiny object in the sky, and have the camera register it in full color and awe on the screen.

M57 – RIng Nebula

Last Updated on

Connecting DSLR to Telescope

In order to connect your DSLR to a telescope, you typically need two adapters:

  • T-Ring (Nikon/Canon specific)
  • 1.25″ or 2″ adapter (depending on the drawtube size of your focuser)

I purchased this set, which includes both, along with an extension tube that sometimes is necessary to extend the focal plane, in order for the camera to focus accurately.

1.25 T-RIng adapter with Nikon T Ring

Last Updated on

Celestron Advanced VX mount arrived

I have purchased the Celestron Advanced VX mount along with a 6″ Newtonian. Buying it as a package is very wise, since for only an extra $100, you get yourself a 150mm f5 reflector that you can start to use for both deep space and planetary imaging. The AVX was chosen because it was the cheapest equatorial tracking mount that could support a weight of up to 30lbs. Although with astrophotography, typically that weight limit should be halved.

Celestron Advanced VX mount with the Orion ST80 mounted

Last Updated on