Purchased PixInsight

Processing in Photoshop is very tedious, since the main problem is easily stretching the images to bring out faint details. With PS it requires many tiny increases using the curves and levels. With PixInsight – its a click of a button. I can now also easily remove light pollution and do proper deconvolution and noise reduction. In all, this software is a fantastic tool in helping you bring your astrophotography processing to a new level. But it costs a few dollars, and so my quest for beautiful space images is stretching my pockets deeper and deeper 🙂

Astrophotography image processing software

Pixinsights greatest strength is a wealth of mathemical scripts that can be applied to an image. The typical features every astrophotographer uses are:

  • Image preprocessing, calibration and stacking
  • Achieving a neutral sky background and removing light pollution
  • Deconvolution and sharpening
  • Color control
  • Stretching to non-linear
  • Noise reduction
  • Tools for creating various masks
  • Channel integration
  • Star reduction and many more features

Last Updated on
Fastest and cheapest polar alignment method

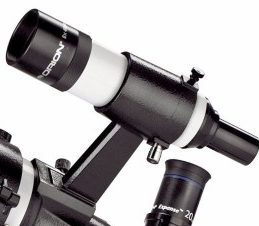
Instead of spending on a polemaster, Im gonna try attaching the QHY5LII-M to the back of the orion 8×40 finderscope and use the SharpCap polar aligning feature. My ST80 has too narrow field of view as Sharpcap needs between 1 and 4 deg FOV.

To attach the camera, I unscrewed the eyepiece part of the finderscope exposing the tube. Then I padded 1.25″ extension with thick foam tape used for window insulation. Now the extension tube fits snugly at the end of the finder scope. The camera goes into the tube at its focal point and is held by 2 thumb screws to maintain steady focus.

Last Updated on

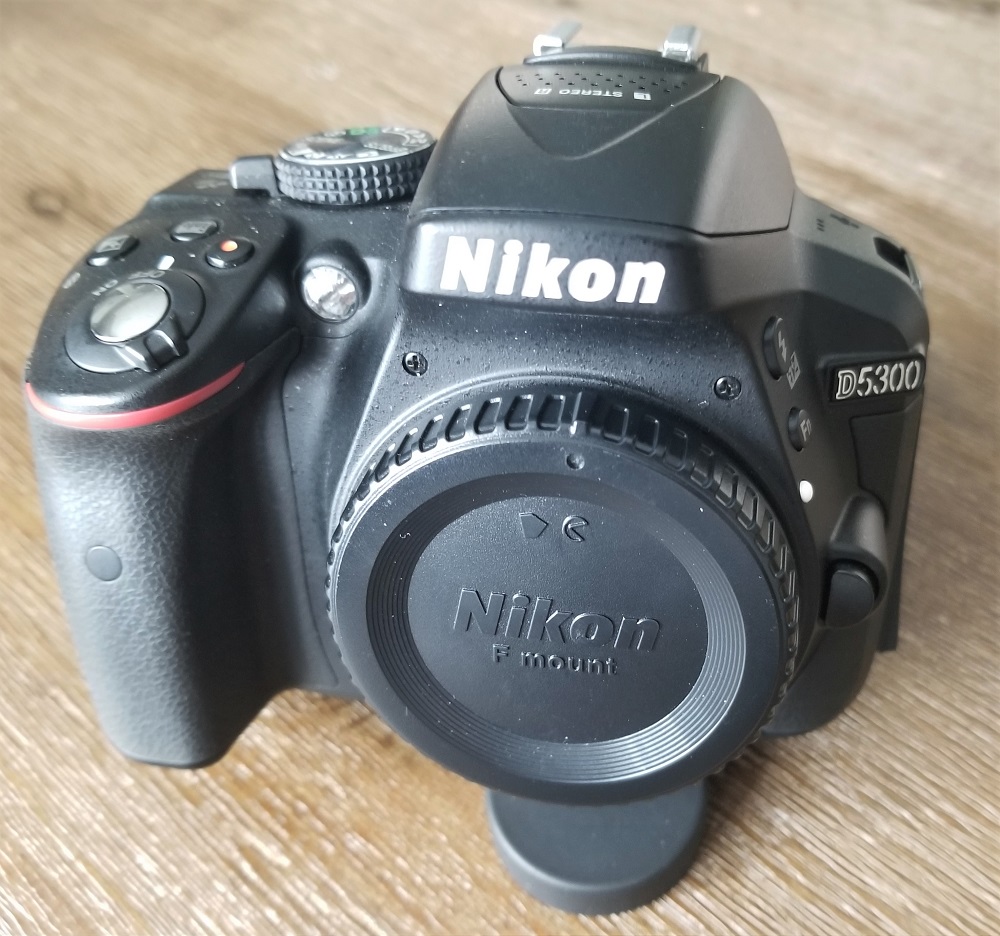
Upgrading to a modded D5300

I’m really lacking the h-alpha response in my Nikon D3200. But more annoying is the fact that I can’t use BackyardNikon with it. I’m left with using a remote shutter for my imaging sessions. This leaves me using only the view finder of the camera for focusing. More importantly, I can’t setup a dithering routine which is much more beneficial to use with DSLRs than spending tedious time creating dark frames.

Nikon D5300
LifePixel Ha Modified Nikon D5300

The Nikon D5300 is one the best crop sensor DSLRs on the market, due to its extremely low noise SONY IMX193 sensor. In addition, by modifying the sensor to allow more of the deep red spectrum to get through, it becomes a powerful tool in capturing emission nebulae. H-alpha emissions are the most prominent and dominant in our universe.

I was lucky to find a second hand D5300 that was professionally modified by LifePixel. It only had 1600 shutter clicks on it.

Last Updated on

Imaging Jupiter with C6N

Jupiter turned out pretty small with the ED80, so this time around I decided to the bigger scope – the Celestron 6″ Newtonian.

With its 150mm main mirror, it clearly shows more detail and zooms a bit closer due to its native 750mm focal length.

Jupiter comparison between ED80 vs C6N

In this image, I got some “onion ring” artifacts, which are rings around the planet caused by having too low a gain after applying wavelet processing. By exposing the planet at 75% histogram, these artifacts should disappear and that is what I plan on trying out next.

Last Updated on

Trying out planetary imaging

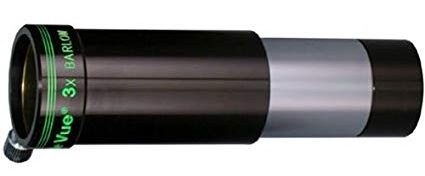
I finally received my Televue 3x Barlow. This will allow me to get my focal ratio from the native f5 on my 6″ reflector closer to f18, which is required for imaging planets. With the new barlow the imaging train will be at f18 and over 2500mm focal length, and I will be able to squeeze out the greatest resolution and contrast that a fast focal length 150mm newtonian can provide.

Televue Barlow 3x
Televue 3x Barlow

But for first my try, I used my 80mm refractor. Here is my first planetary image:

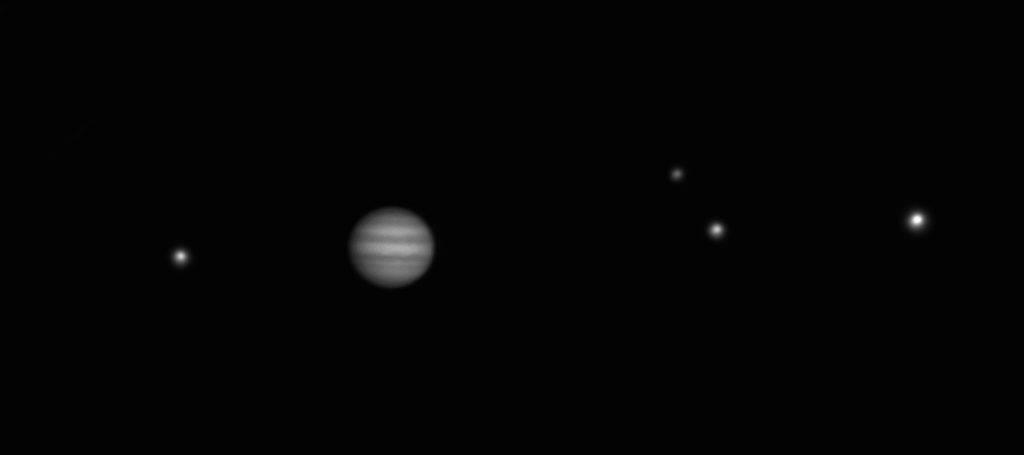
Jupiter with four biggest moons shot using ED80, QHY5LII-M and Televue 3x

Last Updated on

M81 and M82

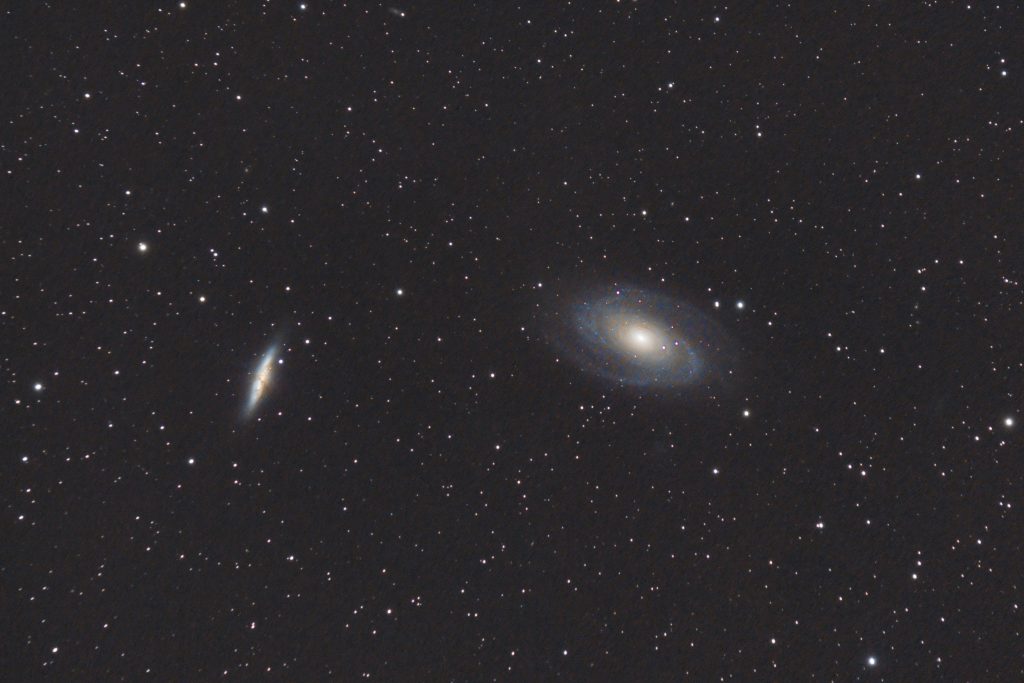
M81 (Bode’s) and M82 (Cigar) galaxies can be imaged all year round from the northern sky, but are highest in the sky in early spring.

This is my first effort with the Nikon true black current hack enabled. It is doing an amazing job and I can finaly properly subtract dust motes out of my images.

M81 and M82 Galaxies

23 lights x 4min
10 Darks 0.4C
23 Flats
20 Bias

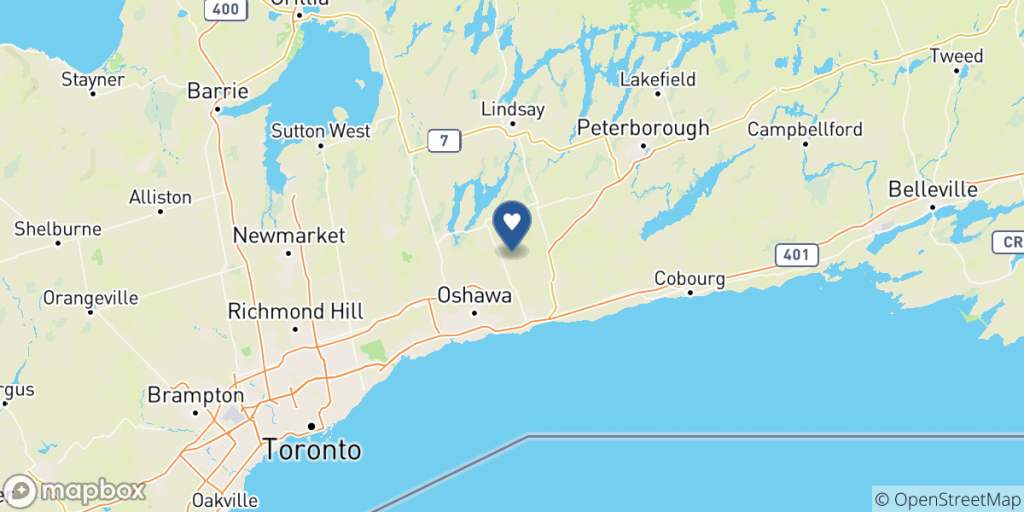
Long Sault Conservation Area Map
Imaging session @ Long Sault Conservation Area

Last Updated on

Nikon True Dark Current Hack

I’m having some difficulty with my flats. After integrading the masterflat and stacking using DeepSkyStacker, I noticed two dust motes even more pronounced than in the original light frames. After some helpful insight from cloudynights (https://www.cloudynights.com/topic/556028-trouble-with-flats-that-overcorrect-my-lights/), I was finally steered in the right direction.

It appears quite a few Nikon cameras including my D3200 do not produce a proper bias frame, because the raw file clips blacks.

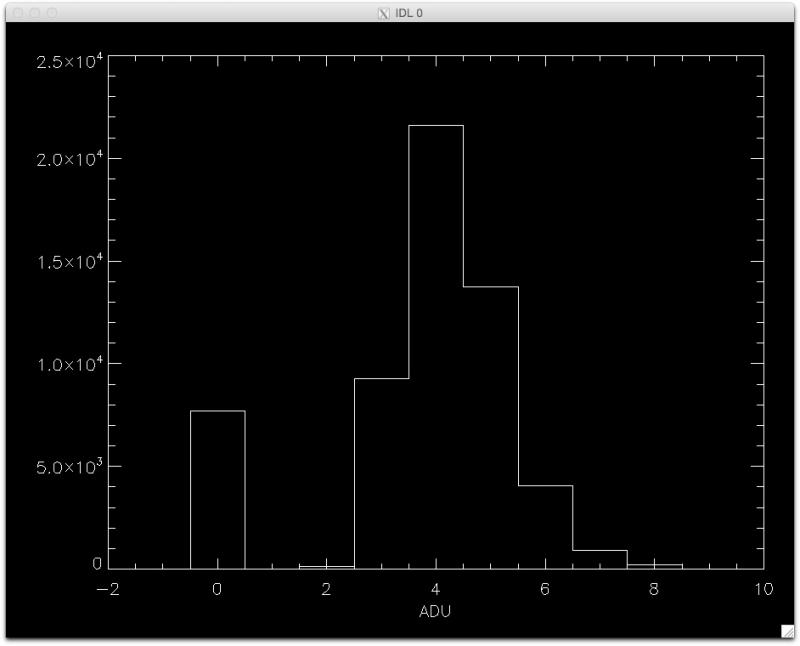
The screenshot below shows the histogram of pixel values in a D3200 bias frame. 13% of the pixels have zero ADU values and do not follow the distribution of the other pixels.

D3200 bias frame blacks clipping

Thankfully, there is a hack available to disable the black clipping. It can be downloaded here: https://nikonhacker.com/viewtopic.php?f=2&t=2195

Another good thing is that this hack gets applied only to the RAM of the camera and persists as long as the camera is on. If you turn it off, it reverts back to its original functionality.

If you have any of the following Nikon cameras, you will greatly improve the quality of your calibration frames by using this patch.

  • D5100
  • D7000
  • D3100 (Uncompressed RAW)
  • D3200 (Uncompressed RAW)
  • D800/D800E
  • D600

Last Updated on

First astroimaging session with Guiding

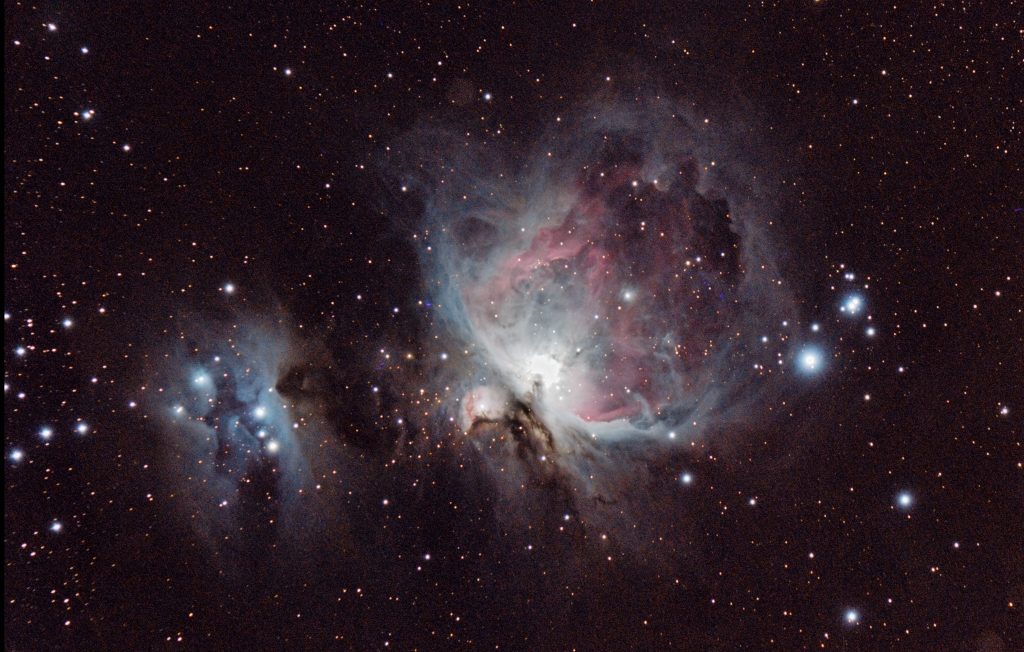
My first astrophotography with guiding. Its incredible how drastic the improvement is. By exposing longer, not only do you get so much more detail, but you eliminate any tracking issues that cause star trails.

M42 – The Orion Nebula /
M43 – De Mairan’s Nebula aka The Running Man nebula

HDR image consisting of:
10 subs x 180 seconds
8 subs x 60 seconds

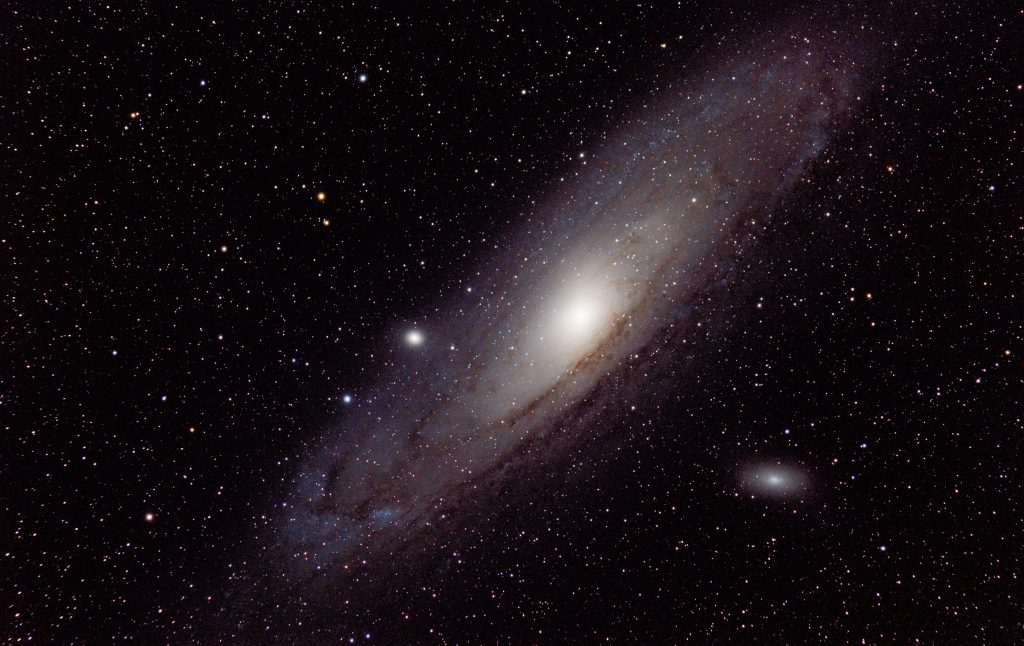
M31 Andromeda
M31 – The Andromeda Galaxy

Stacked 9 subs x 180 seconds in DSS and processed in Pixinsight.

For both images, the calibration frames were:
20 bias
10 darks at 7 degress
10 darks at 4 degrees
15 flats

I can already see the direction of my next improvement. First, I have stacking artifacts – there are dust motes on the sensor that aren’t being properly calibrated out using stacking in DSS. Second, I have elongated stars in the corners, due to the fact that my reducer spacing seems to be off.

Last Updated on

Fixing Field Curvature using Reducer Corrector

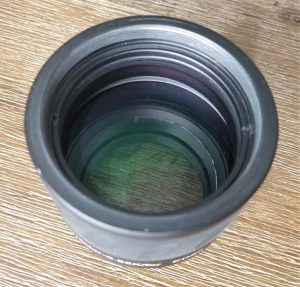
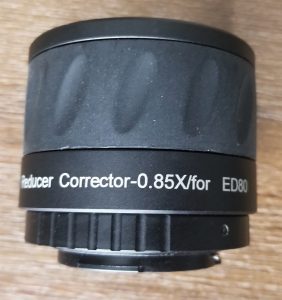
I purchased a second hand reducer corrector for my ED80. It cost almost as much as the refractor itself, but its worth it

To flatten the field and also to increase your f/ratio, the ED80 offers a dedicated Reducer/Corrector 0.85x. Not only does it lower the f/ratio of the scope from f7.5 to f6.3, but it virtually removes all of the field curvature that comes naturally with a refractor.

Reducer/Corrector 0.85
Contains a quality ED element
Reducer/Corrector 0.85
Dedicated reducer for ED80

Last Updated on

The path to Guiding

Entry level equatorial mounts don’t tack accurately for longer than 60 seconds. It gets even harder to track precisely with longer focal lengths.

Guiding is the answer and my next major goal in improving the astrophotography setup. By guiding, you can keep exposing for much longer times (5-15min and even beyond). That will allow you to drastically increase the amount of detail you can expose in the images, essentially increasing your SNR (signal to noise ratio).

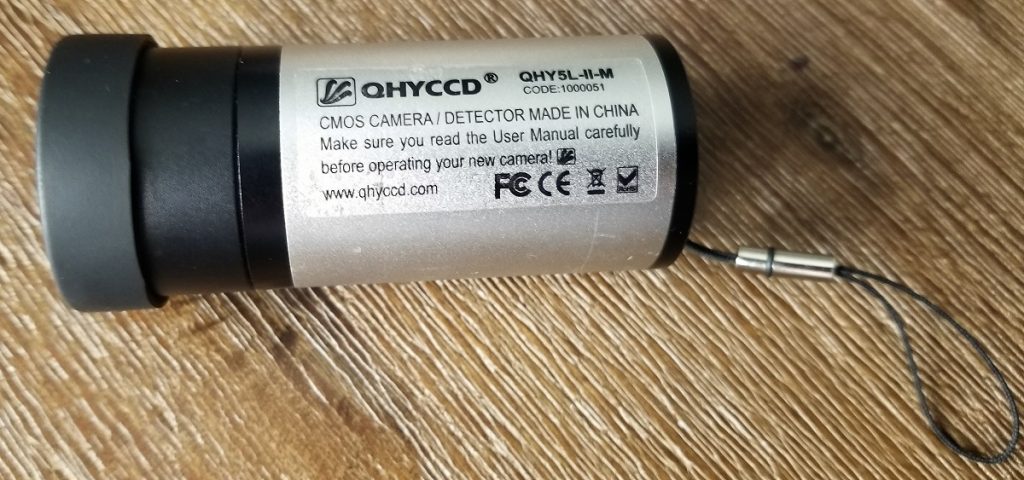
For the guiding camera I chose the popular mono QHY5L-II-M camera. Mono cameras are best for guiding, because the mono sensor captures are more sensitive and can detect more stars in the field of view.

QHYCCD QHY5L-II-M guide/planetary camera

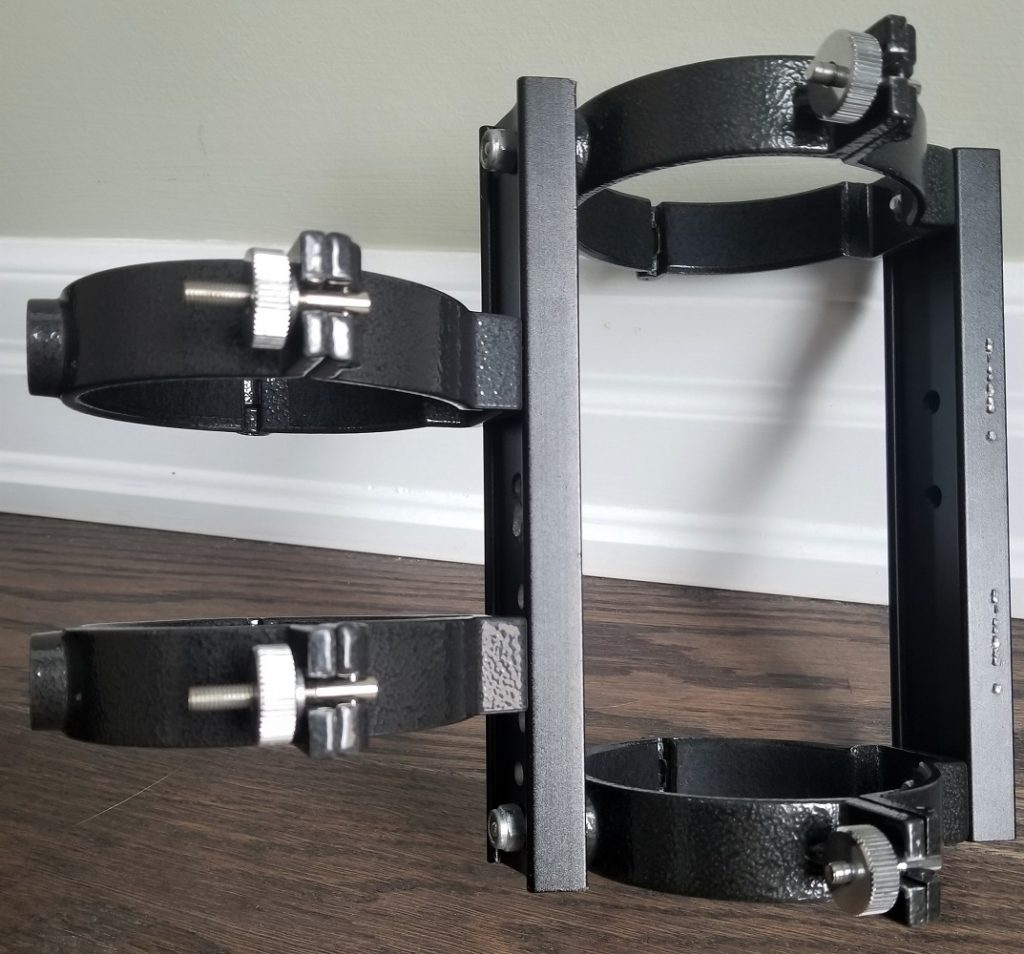
My Orion ST80 will be my guidescope now and I attached it on top the Orion ED80. I had to drill some new holes in the mounting brackets, in order to attach the ST80 rings on top of the ED80 rings. This type of setup is more rigid than the “3 screw” guiding type ring.

Left guide rings for ST80, right rings for ED80

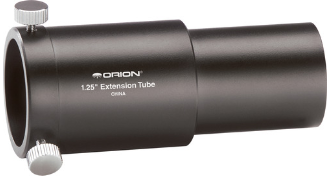
Finally, to achieve focus with the guide camera, I purchased a 1.25″ extension tube. Without this, my ST80 drawtube isn’t long enough to achieve focus.

1.25 Extension tube
1.25 Extension Tube

On the software front, I installed PHD as the guiding software. The latest version can be found here: https://openphdguiding.org/

Last Updated on